Printer Setup & Installation
Follow our easy step-by-step guides to set up your printer, connect to Wi-Fi, install drivers, and start printing in minutes.
Contact Support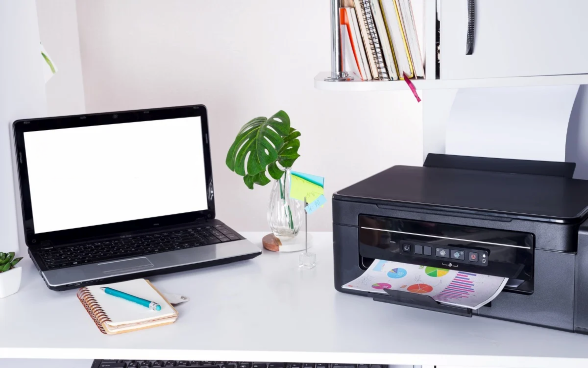
Follow our easy step-by-step guides to set up your printer, connect to Wi-Fi, install drivers, and start printing in minutes.
Contact Support
Connect your printer to your home or office Wi-Fi network for wireless printing from any device.
View Guide →Connect your printer directly to your computer using a USB cable for a reliable wired connection.
View Guide →Add your printer to your phone or tablet and print directly from mobile apps.
View Guide →Remove all packaging materials, install ink cartridges, load paper into the tray, and press the power button to turn on your printer.
On your printer's control panel, navigate to Network Settings or Wireless Setup Wizard. Select your Wi-Fi network and enter your password.
Download and install the latest printer drivers from our Drivers & Downloads page for your operating system.
Go to Settings → Printers & Scanners → Add a printer. Select your printer from the list and follow the on-screen prompts to complete setup.
Print a test page to verify your printer is working correctly. If issues occur, visit our Troubleshooting guide.
Connect your printer to your computer using the included USB cable. Windows and Mac will typically detect the printer automatically. If not, download drivers from our Drivers page and run the installer before connecting the USB cable.
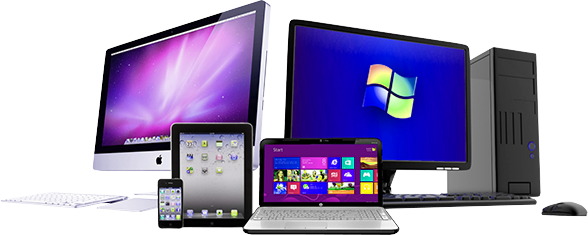

Print from your smartphone or tablet using our mobile printing app or built-in OS printing features.
Our certified technicians are available 24/7 to walk you through the entire setup process over the phone.
Contact Support